안녕하세요?
지난 포스트에서는 django model 을 이용하여 Article이라는 클래스(DB에서는 테이블)을 만들었고,
여기에 데이터를 입력할 수 있는 admin 페이지 설정을 해보았습니다.
이번 글에서는 Article 에 데이터를 실제로 넣어보고,
html 화면에서 이 정보를 가져올 수 있도록 해보겠습니다.
Article(model) 데이터 생성
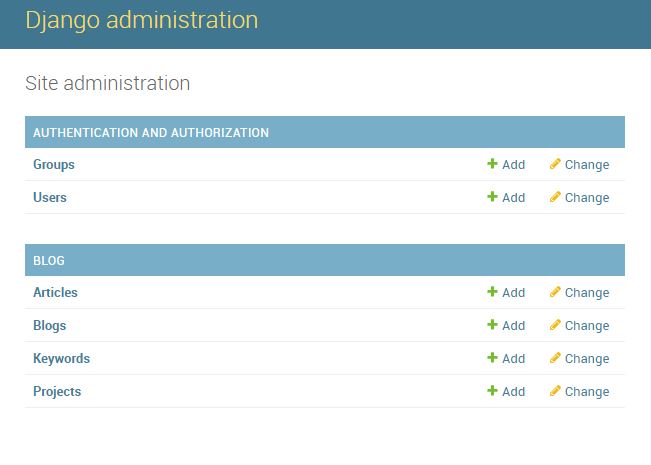
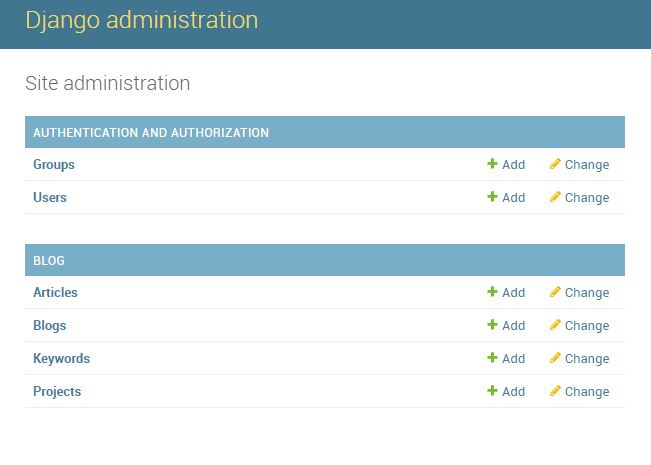
먼저, admin 페이지로 들어가서
Article 항목에 'ADD' 버튼을 눌러서 아래와 같이 Article 작성을 위한 페이지를 띄웁니다.
다 입력한 후 'SAVE'버튼을 누르면 저장이 되고,
아래와 같이 입력된 Article 목록이 뜹니다.
해당 목록에서 입력된 건을 클릭해보면 수정하는 페이지로 연결됩니다.
하지만 저희가 만들고 있는 블로그 사이트로 들어가면,
방금 전 입력한 글은 찾아볼 수 없습니다.
이는 html 파일에는 Article 모델 데이터가 나오도록 연결을 해놓지 않아서 그렇습니다.
이제 html 파일에 모델 데이터를 끌어다가 쓸 수 있도록 수정할 것입니다.
views.py 파일 수정
blog 어플리케이션을 만들었을 때 생성된 파일 중에 views.py 라는 파일이 있습니다.
views.py 파일은 MVC 패턴에서 VIEW를 담당하는 것으로,(MVC 패턴에 대한 자세한 설명 : MVC 패턴이란?)
쉽게 말하자면 URL 요청을 받은 후 데이터를 읽고, 이 데이터를 어떻게 보여줄 것인지 처리하는 부분이라고 보시면 됩니다.
해당 파일을 아래와 같이 수정합니다.
from django.shortcuts import render
from .models import Article

# Create your views here.
def index(request):
    matching_article = Article.objects.all()

    return render(request=request,
                  template_name='index.html',
                  context={"objects": matching_article}
                  )
여기서 Article.objects.all() 이라는 부분은 Article 모델의 클래스 중 모든 객체 데이터를 가져오겠다는 것입니다.
render 함수에서 template_name 부분은 해당 요청을 받이면 index.html 파일을 띄워준다는 것이고,
context 부분은 화면에 보낼 변수를 지정하는 것으로, objects 라는 변수에 조회된 matching_article 객체를 보내주는 것입니다.
urls.py 파일 수정
이전에 Test/TestProject/TestProject 경로에 있는 urls.py 파일을 아래와 같이 입력한 적이 있는데요,
from django.contrib import admin
from django.urls import path
from django.conf import settings
from django.conf.urls.static import static
from .views import *


urlpatterns = [
    path('', views.index),
    path('index', index, name='index'),
    path('about', about, name='about'),
    path('post', post, name='post'),
    path('contact', contact, name='contact'),
    path('admin/', admin.site.urls),

]

if settings.DEBUG:
    urlpatterns += static(settings.MEDIA_URL,
                          document_root=settings.MEDIA_ROOT)
    urlpatterns += static(settings.STATIC_URL, document_root=settings.STATIC_ROOT)
이 urls.py 파일을 두개로 나눠주는 작업을 할 겁니다.
먼저 해당 파일을 복사하여 Test/TestProject/blog 경로에 복사해주시고,
Test/TestProject/TestProject 경로의 urls.py 파일은 아래와 같이 수정합니다.
from django.contrib import admin
from django.urls import path, include
from django.conf import settings
from django.conf.urls.static import static
from .views import *


urlpatterns = [
    path('', include('blog.urls')), #수정된부분
    path('about', about, name='about'),
    path('post', post, name='post'),
    path('contact', contact, name='contact'),
    path('admin/', admin.site.urls),
]

if settings.DEBUG:
    urlpatterns += static(settings.MEDIA_URL,
                          document_root=settings.MEDIA_ROOT)
    urlpatterns += static(settings.STATIC_URL, document_root=settings.STATIC_ROOT)
여기서 #수정된부분 행은 '' 으로 요청을 받으면, blog폴더의 urls 파일을 참조하겠다라는 의미입니다.
그리고 index 로 요청을 받던 행도 지웠습니다.
blog 폴더 밑이 urls.py 파일은 아래와 같이 수정합니다.
from django.contrib import admin
from django.urls import path
from . import views
from django.conf import settings
from django.conf.urls.static import static
from .views import *


urlpatterns = [
    path('', views.index),
    path('index', index, name='index'),
]
index 로 요청을 받는 경우에는 이제 blog 폴더의 urls.py 파일로 요청이 오고,
이는 blog 폴더의 views.py 파일의 index 함수를 타도록 연결되었습니다.
html 파일 수정
index.html 파일을 열고 <!--Main Content--> 라는 부분을 찾아서 아래와 같이 수정해줍니다.
<!-- Main Content-->
        <div class="container px-4 px-lg-5">
            <div class="row gx-4 gx-lg-5 justify-content-center">
                <div class="col-md-10 col-lg-8 col-xl-7">
                    {% for object in objects %}
                        <div class="preview">
                            <blog class="media content-section customhover" style="height: 95%;">
                                <div class="media-body">
                                    <a href="/post/{{object.slug}}">
                                        <!--<img class="img-fluid" src="/">-->
                                        <h2 class="post-title" >{{ object.title }} </h2>
                                        <h3 class="post-subtitle">{{ object.subtitle }}</h3>
                                    </a>
                                    <p class="post-meta">
                                            Posted by
                                            <a href="/post/{{object.slug}}">Sanlab</a>
                                            on {{ object.published }}
                                    </p>

                                </div>
                            </blog>
                        </div>
                        <!-- Divider-->
                        <hr class="my-4" />
                    {% endfor %}
                    <!-- Post preview-->
                    <!-- Pager-->
                    <div class="d-flex justify-content-end mb-4"><a class="btn btn-primary text-uppercase" href="#!">Older Posts →</a></div>
                </div>
            </div>
        </div>
        <!-- Footer-->
위의 파일에서는 views.py 파일에서 objects라는 변수로 던져준 부분을 받아서
해당 객체를 for문을 돌려서 각 object마다 데이터를 뿌려주는 형식입니다.
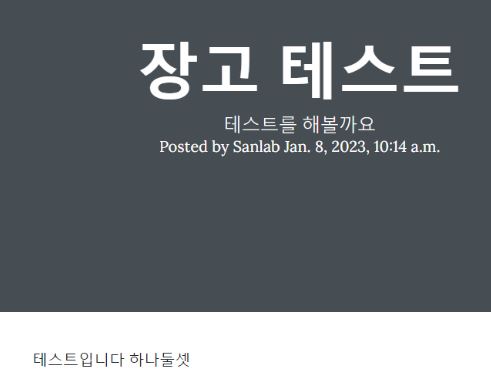
이렇게 저장을 한후 다시 블로그에 들어가서 새로고침을 하면 아래와 같이
저희가 입력한 테스트 글이 잘 보이는 것이 확인됩니다.
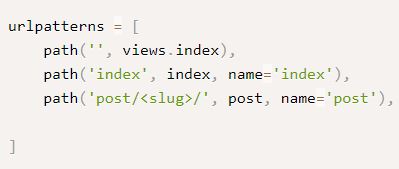
근데 막상 포스트를 누르면 아래와 같이 404 에러가 뜹니다.
이는 아직 포스트 클릭에 대한 url 설정이 안되어 있기 때문인데요,
이는 다음 포스트에서 설정해보도록 하겠습니다.
Reference


